4×4 Air Intake System
Feasibility for injection moulding


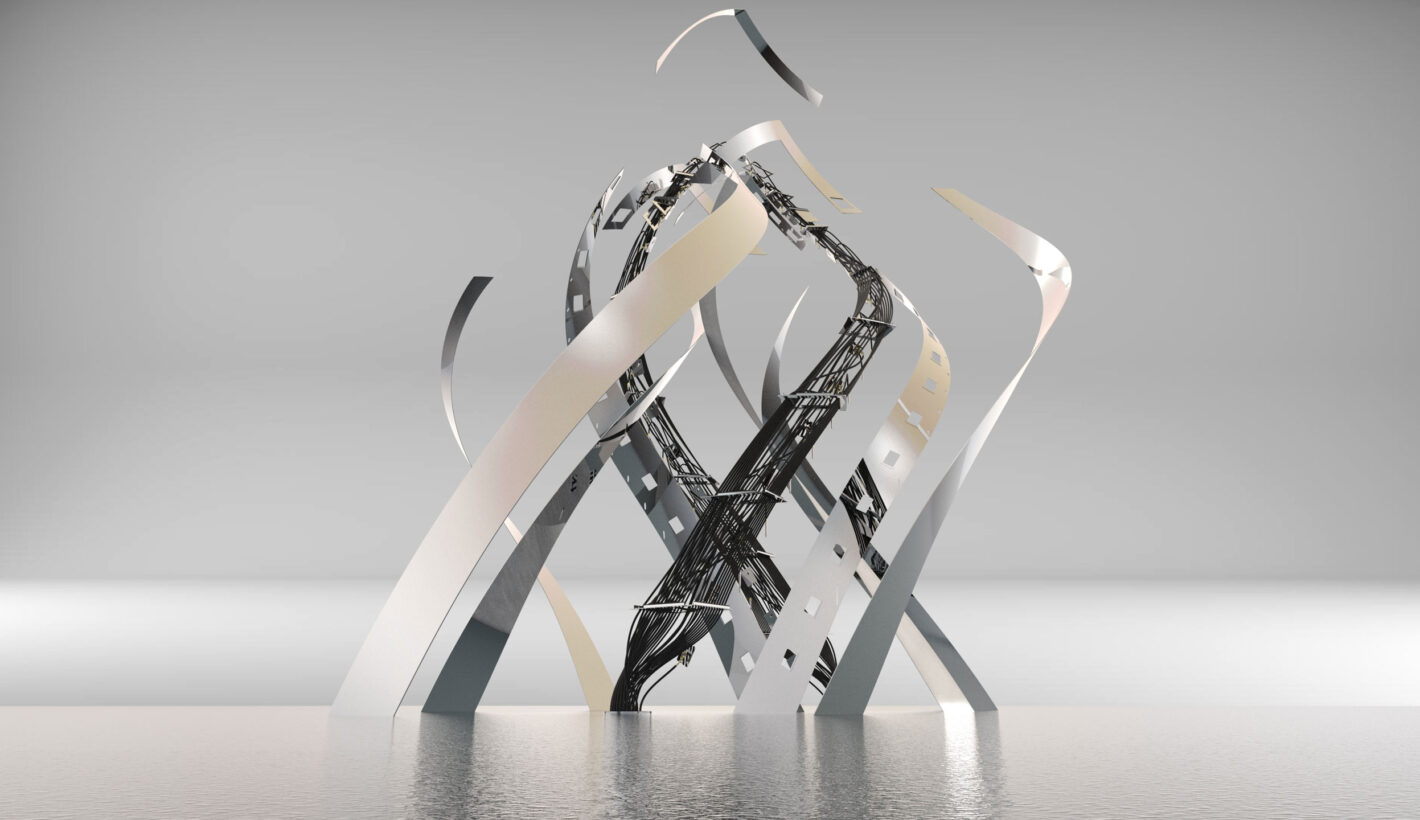
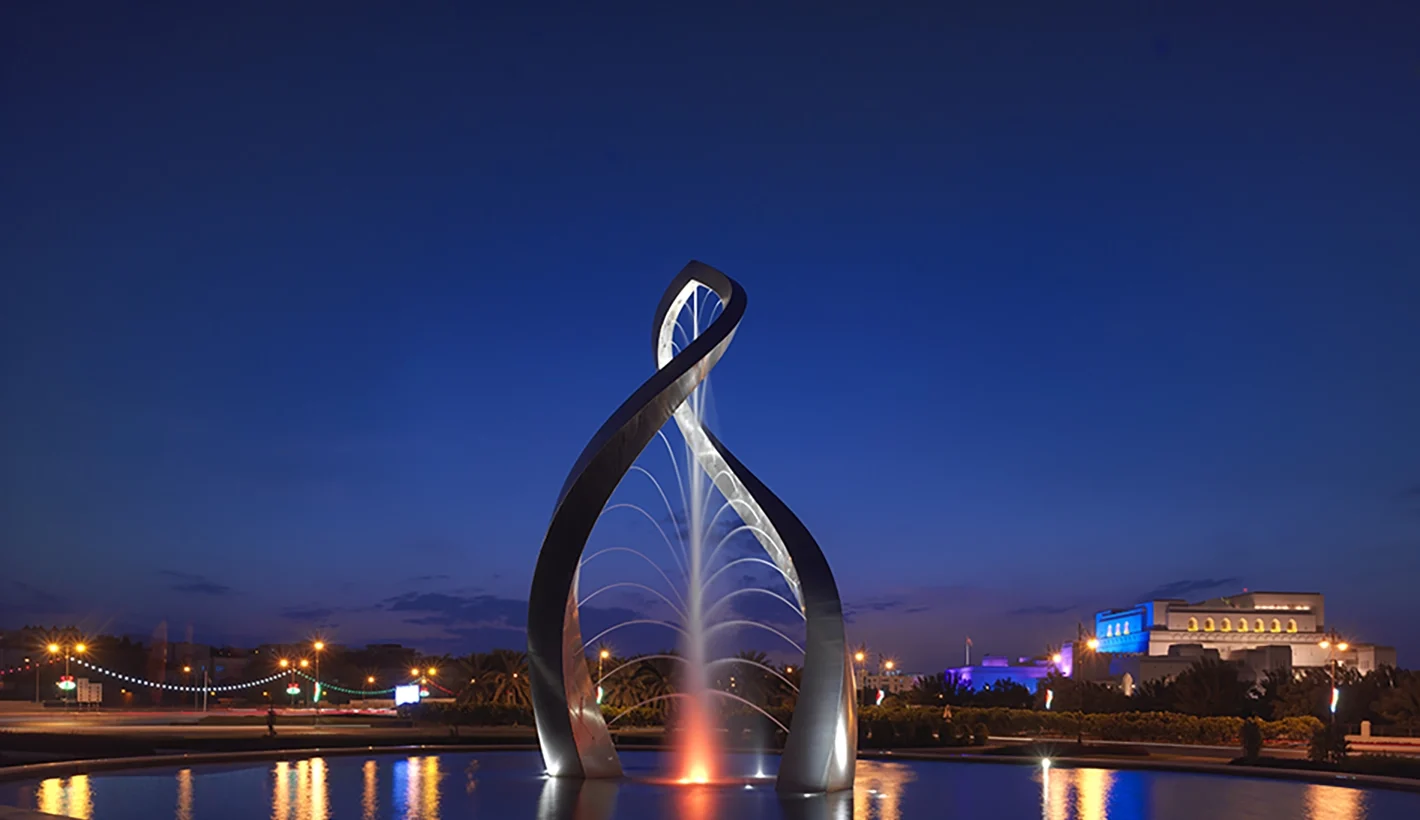
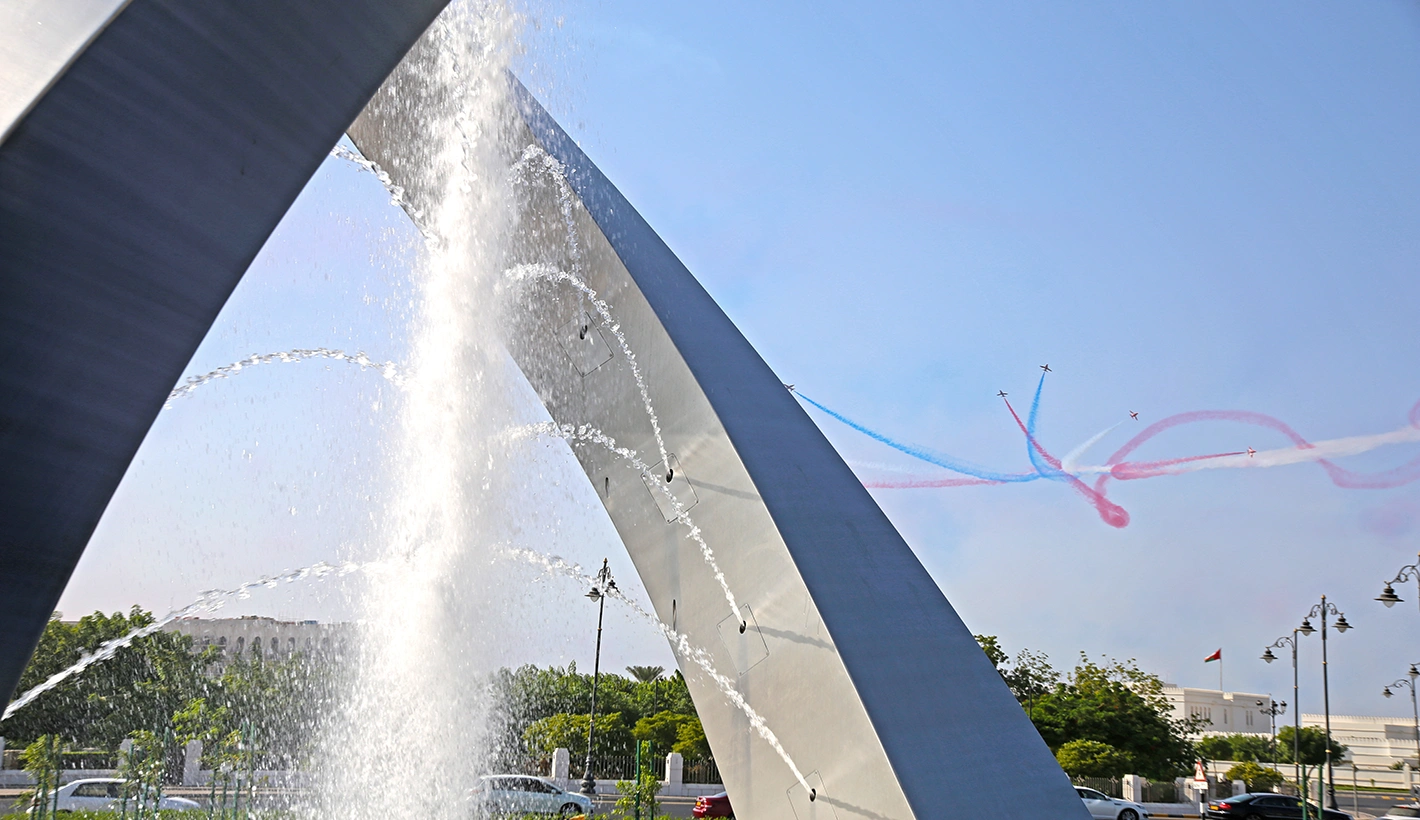
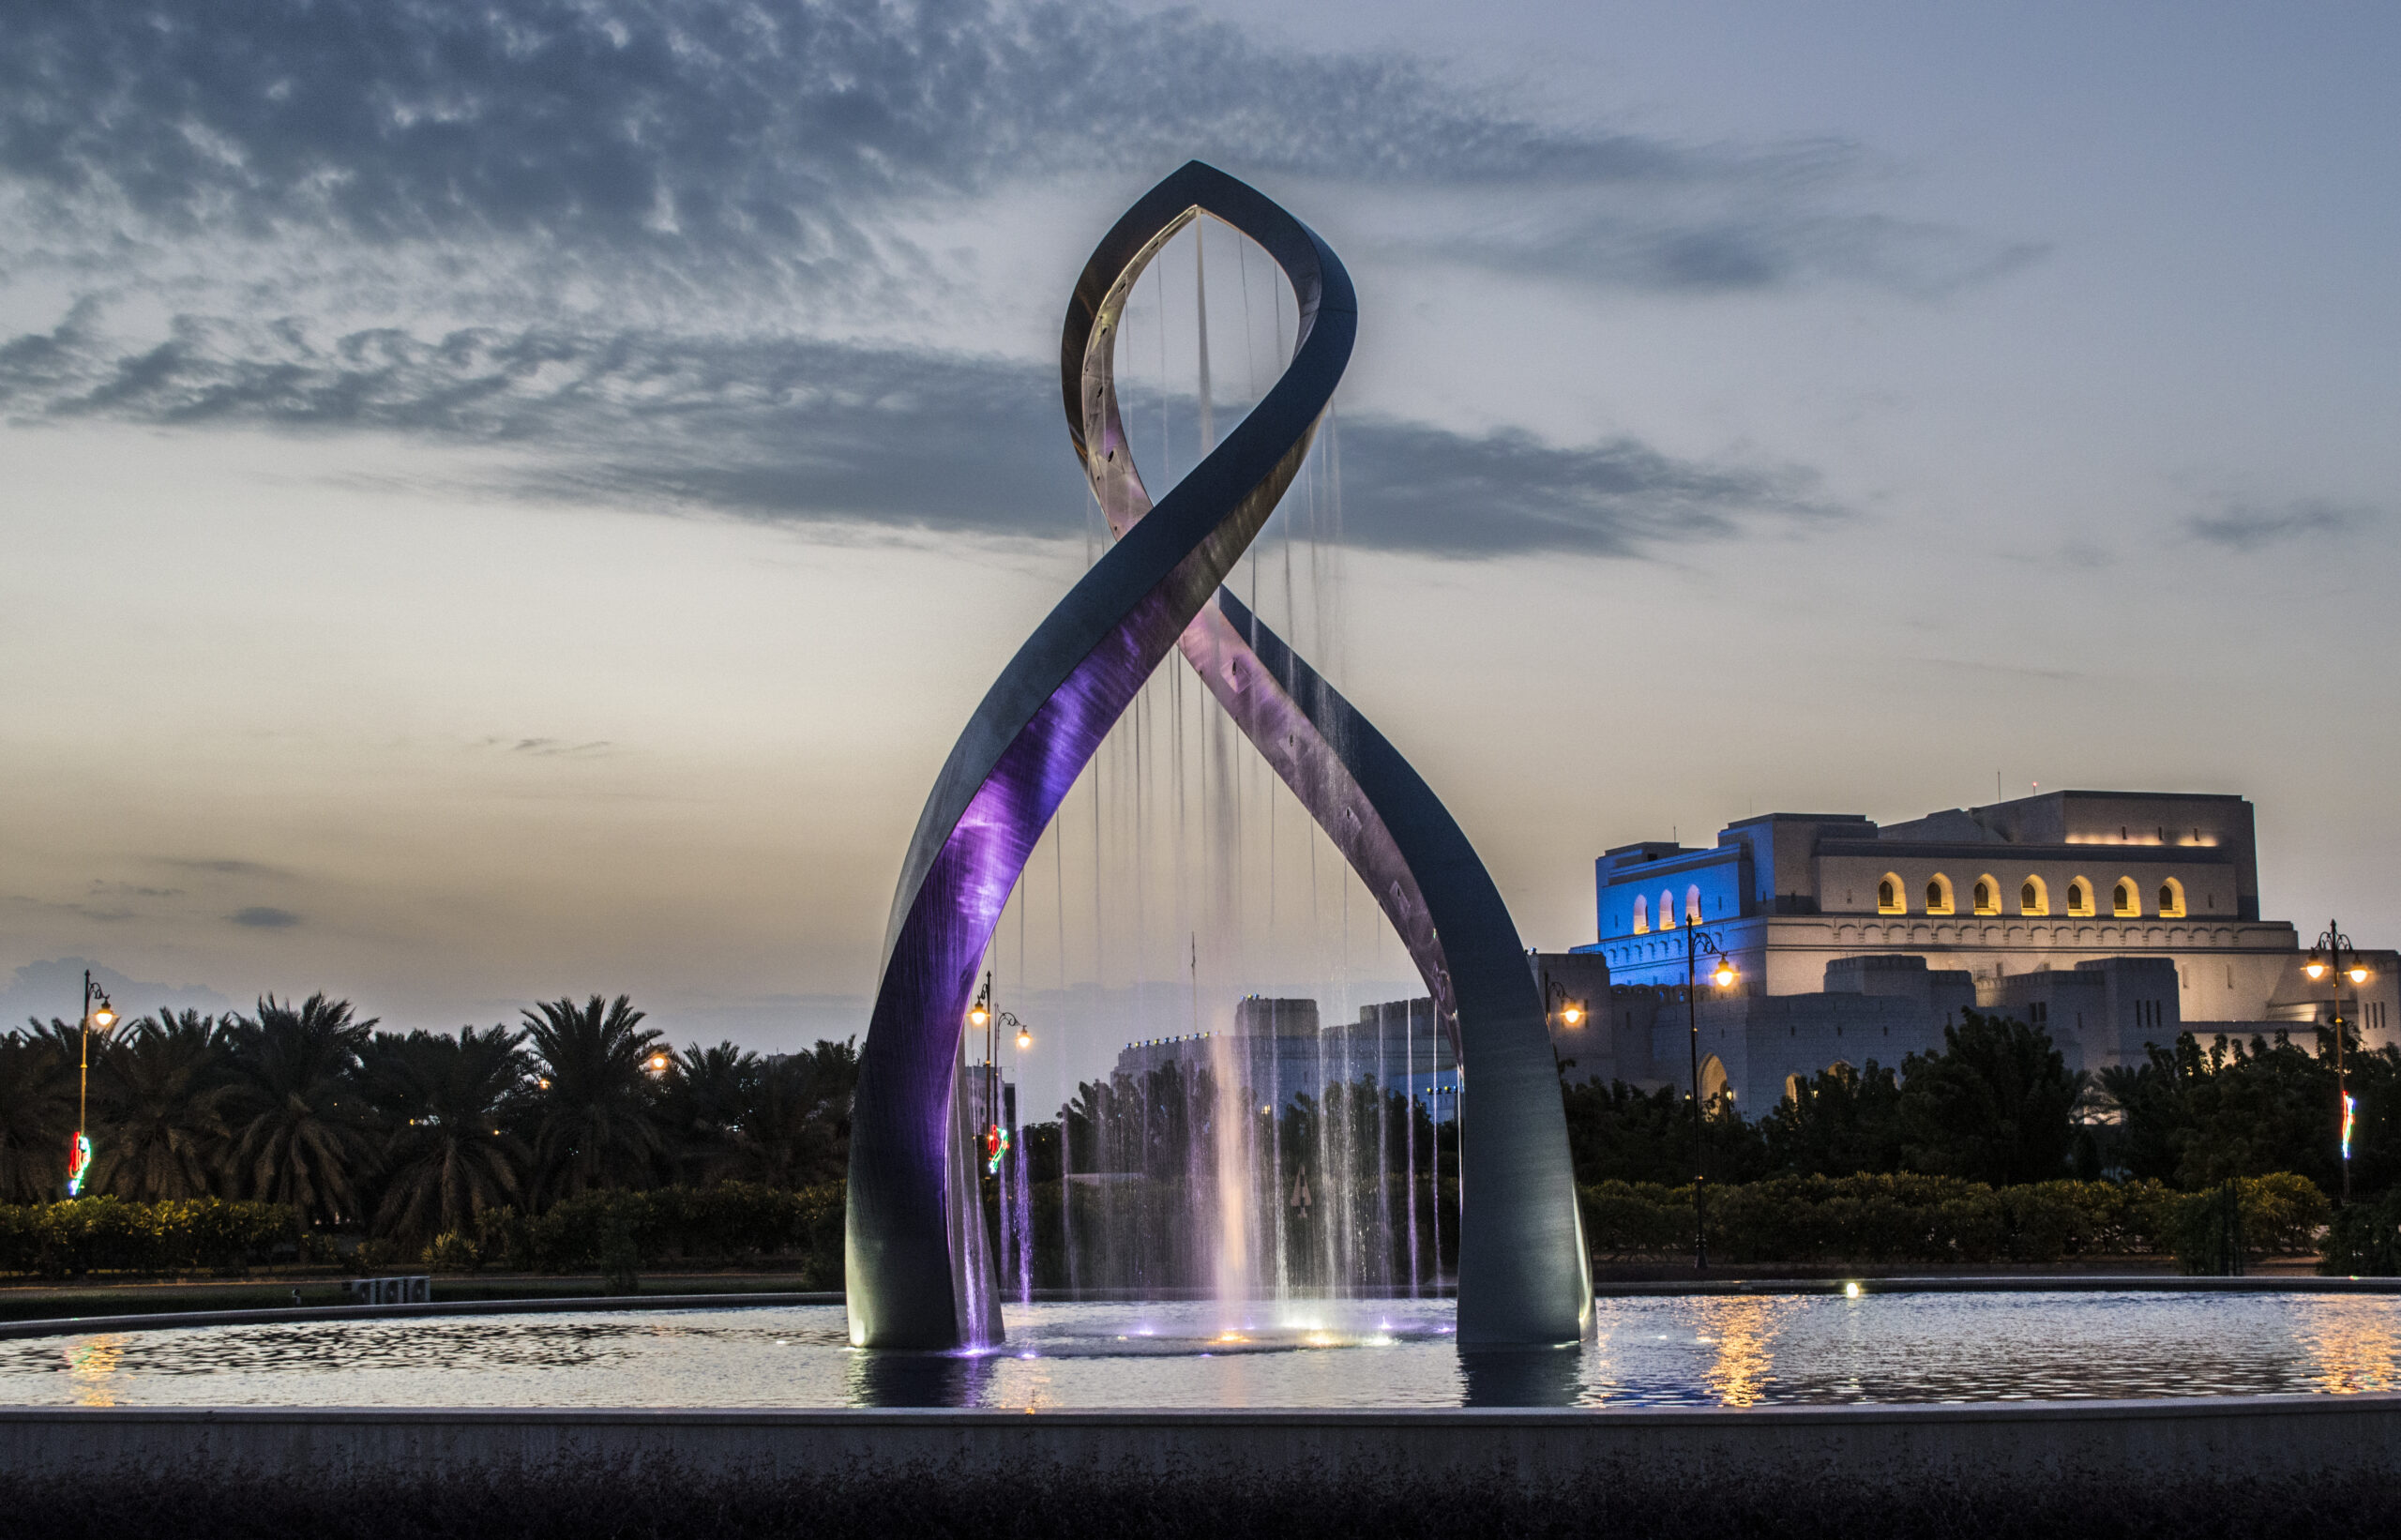
His small-scale 3D model and proposal outlined a concept for an impressive 40-foot high sculpture set against a backdrop of a 200-foot wide pool, comprising two entwined stainless-steel tusks complemented by 69 illuminated water jets. The goal was clear: to design, manufacture, and install this breathtaking artwork that was destined to grace the capital city of Oman, Muscat.
To bring Giles’ vision to life, GP began by capturing his model using cutting-edge 3D scanners and sophisticated modelling programs. This data served as the foundation for the design process, working closely with the sculptor to finesse the designs within fixed parameters that considered manufacture feasibility, accessibility for maintenance, and installation.
The built-in parameters within GP’s CAD software generated countless design iterations and variations of components instantly, not only at design stage but throughout the project’s evolution.
This capability was particularly beneficial when designing nozzle hatches that spanned the sculpture’s surface, including intricate cutting profiles and internal details.
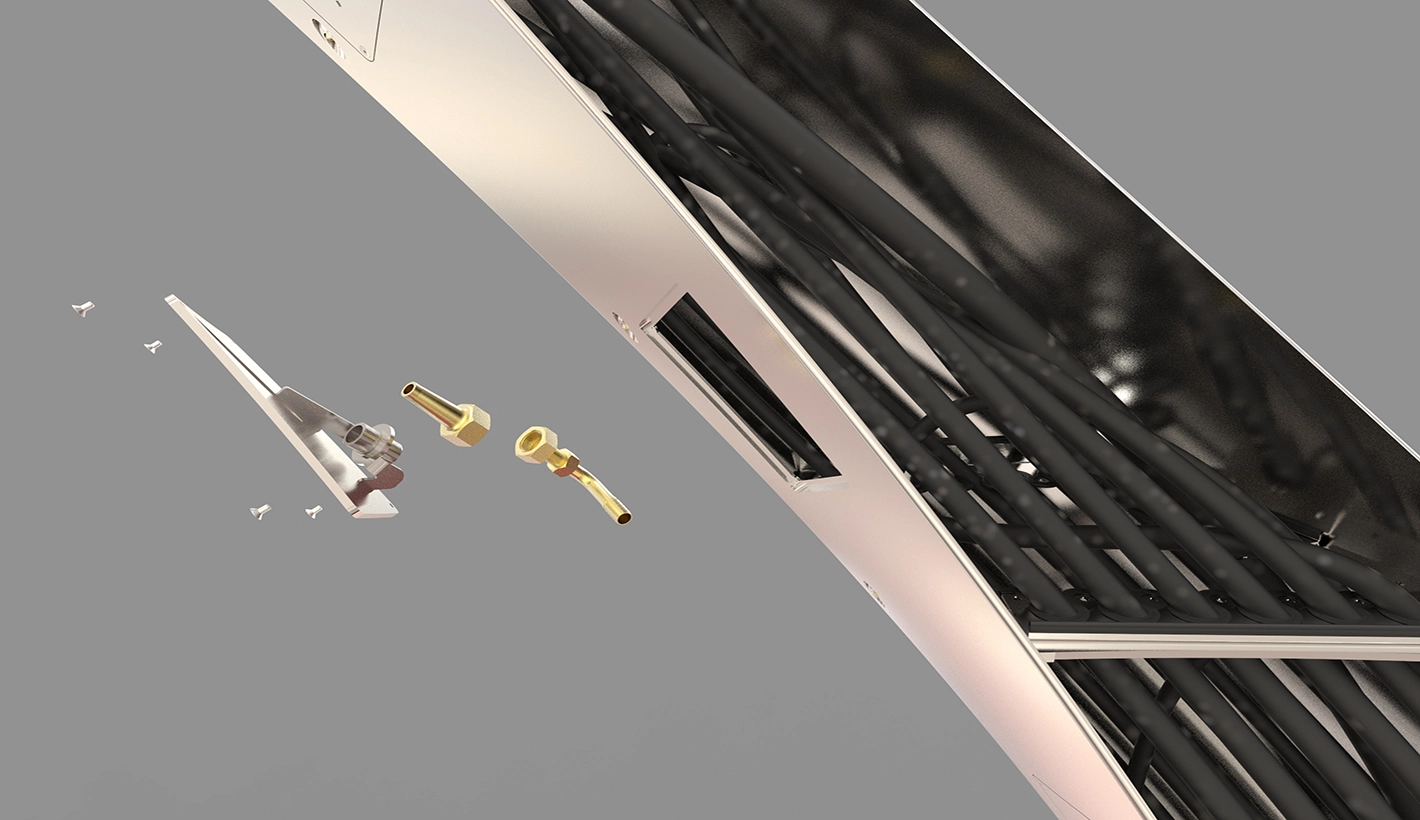
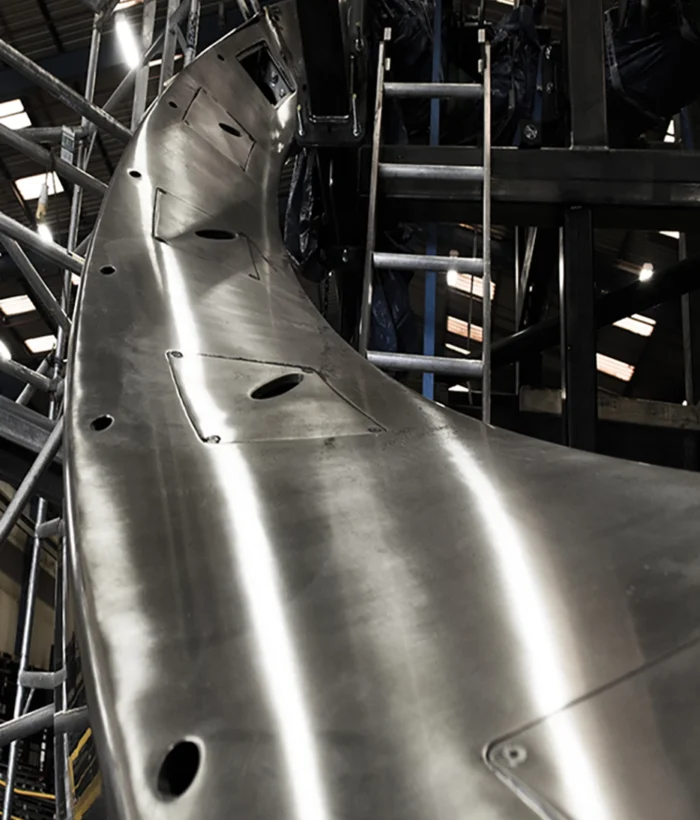
To minimise the risk of laser-cutting errors, flat profiles were created from the complex curved surfaces of the sculpture. Understanding that the hatches needed to remain securely attached as the surface curved, a tagging system was integrated that allowed each hatch to be fixed to the surface as a flat sheet.
To further assist the manufacturing team, precise tolerance figures for shrinkage and stretch were provided, ensuring that when the flat profiles were transformed into curves, they would fit together seamlessly.

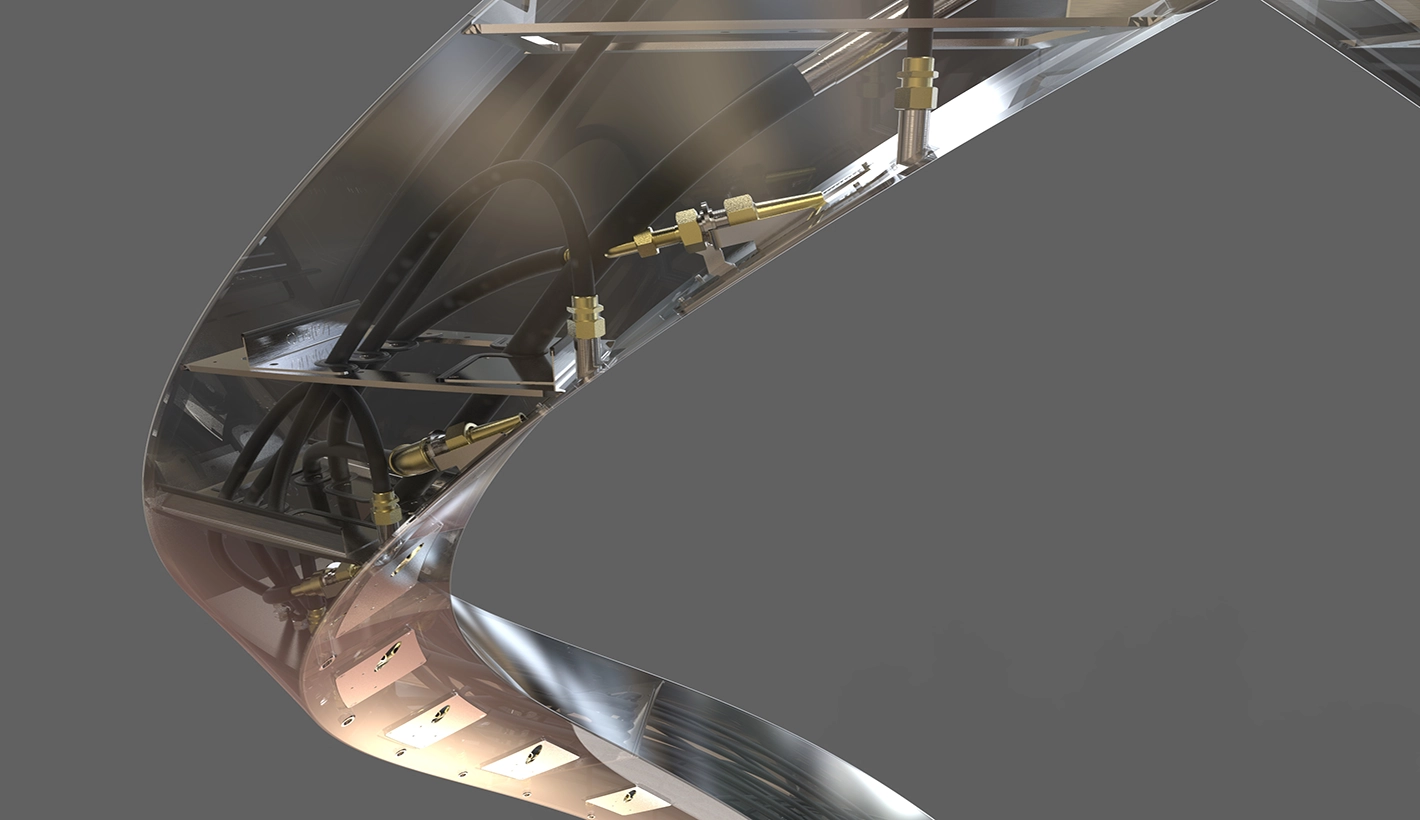
To facilitate this, an assembly and orientation jig was designed and built, enabling manufacturers to align and secure each piece with utmost accuracy.
To streamline the assembly process, each component was tagged using our proprietary software. This innovative system ensured that parts could only fit together in the correct orientation, allowing for quick and efficient assembly while maintaining the sculpture’s structural integrity.
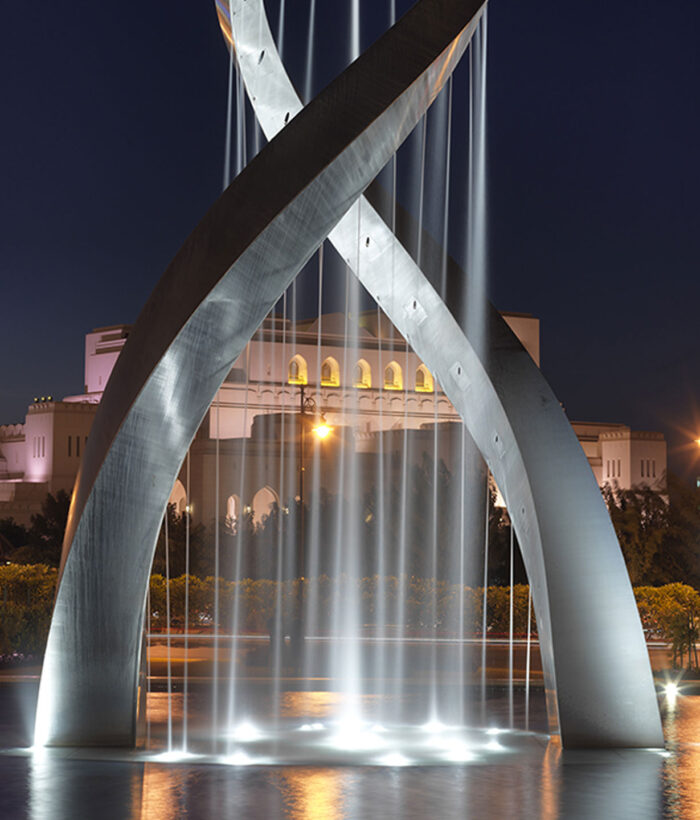
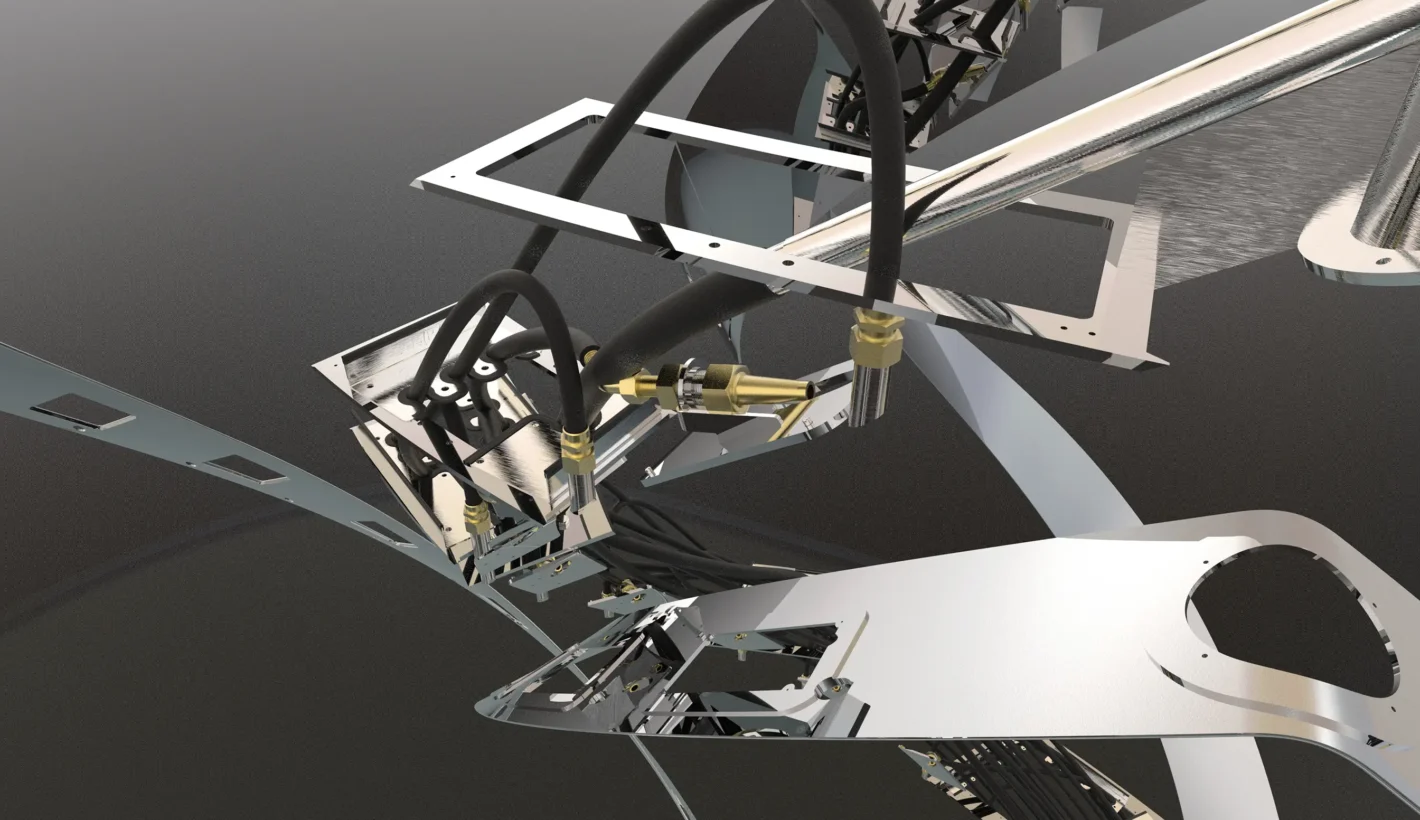
These lights would create a captivating, colourful display that accentuated the sculpture’s elegance and dynamism.
To ensure the lighting design perfectly complemented the sculpture, a 3D visualisation of the installation was created. This allowed the lighting designer to experiment with various placements, beam angles, focal points, and intensities, ultimately enhancing the sculpture’s aesthetic impact.
From initial concept model to a stunning reality, the sculpture is a testament to the collaboration of artistry and engineering. An iconic landmark that delights visitors and leaves an indelible mark on the landscape of Oman.
“Generative Parametric surpassed my every ambition for this project - from rapid prototyping to the smart solutions used to manfacture this project, they blew us away at every stage.

